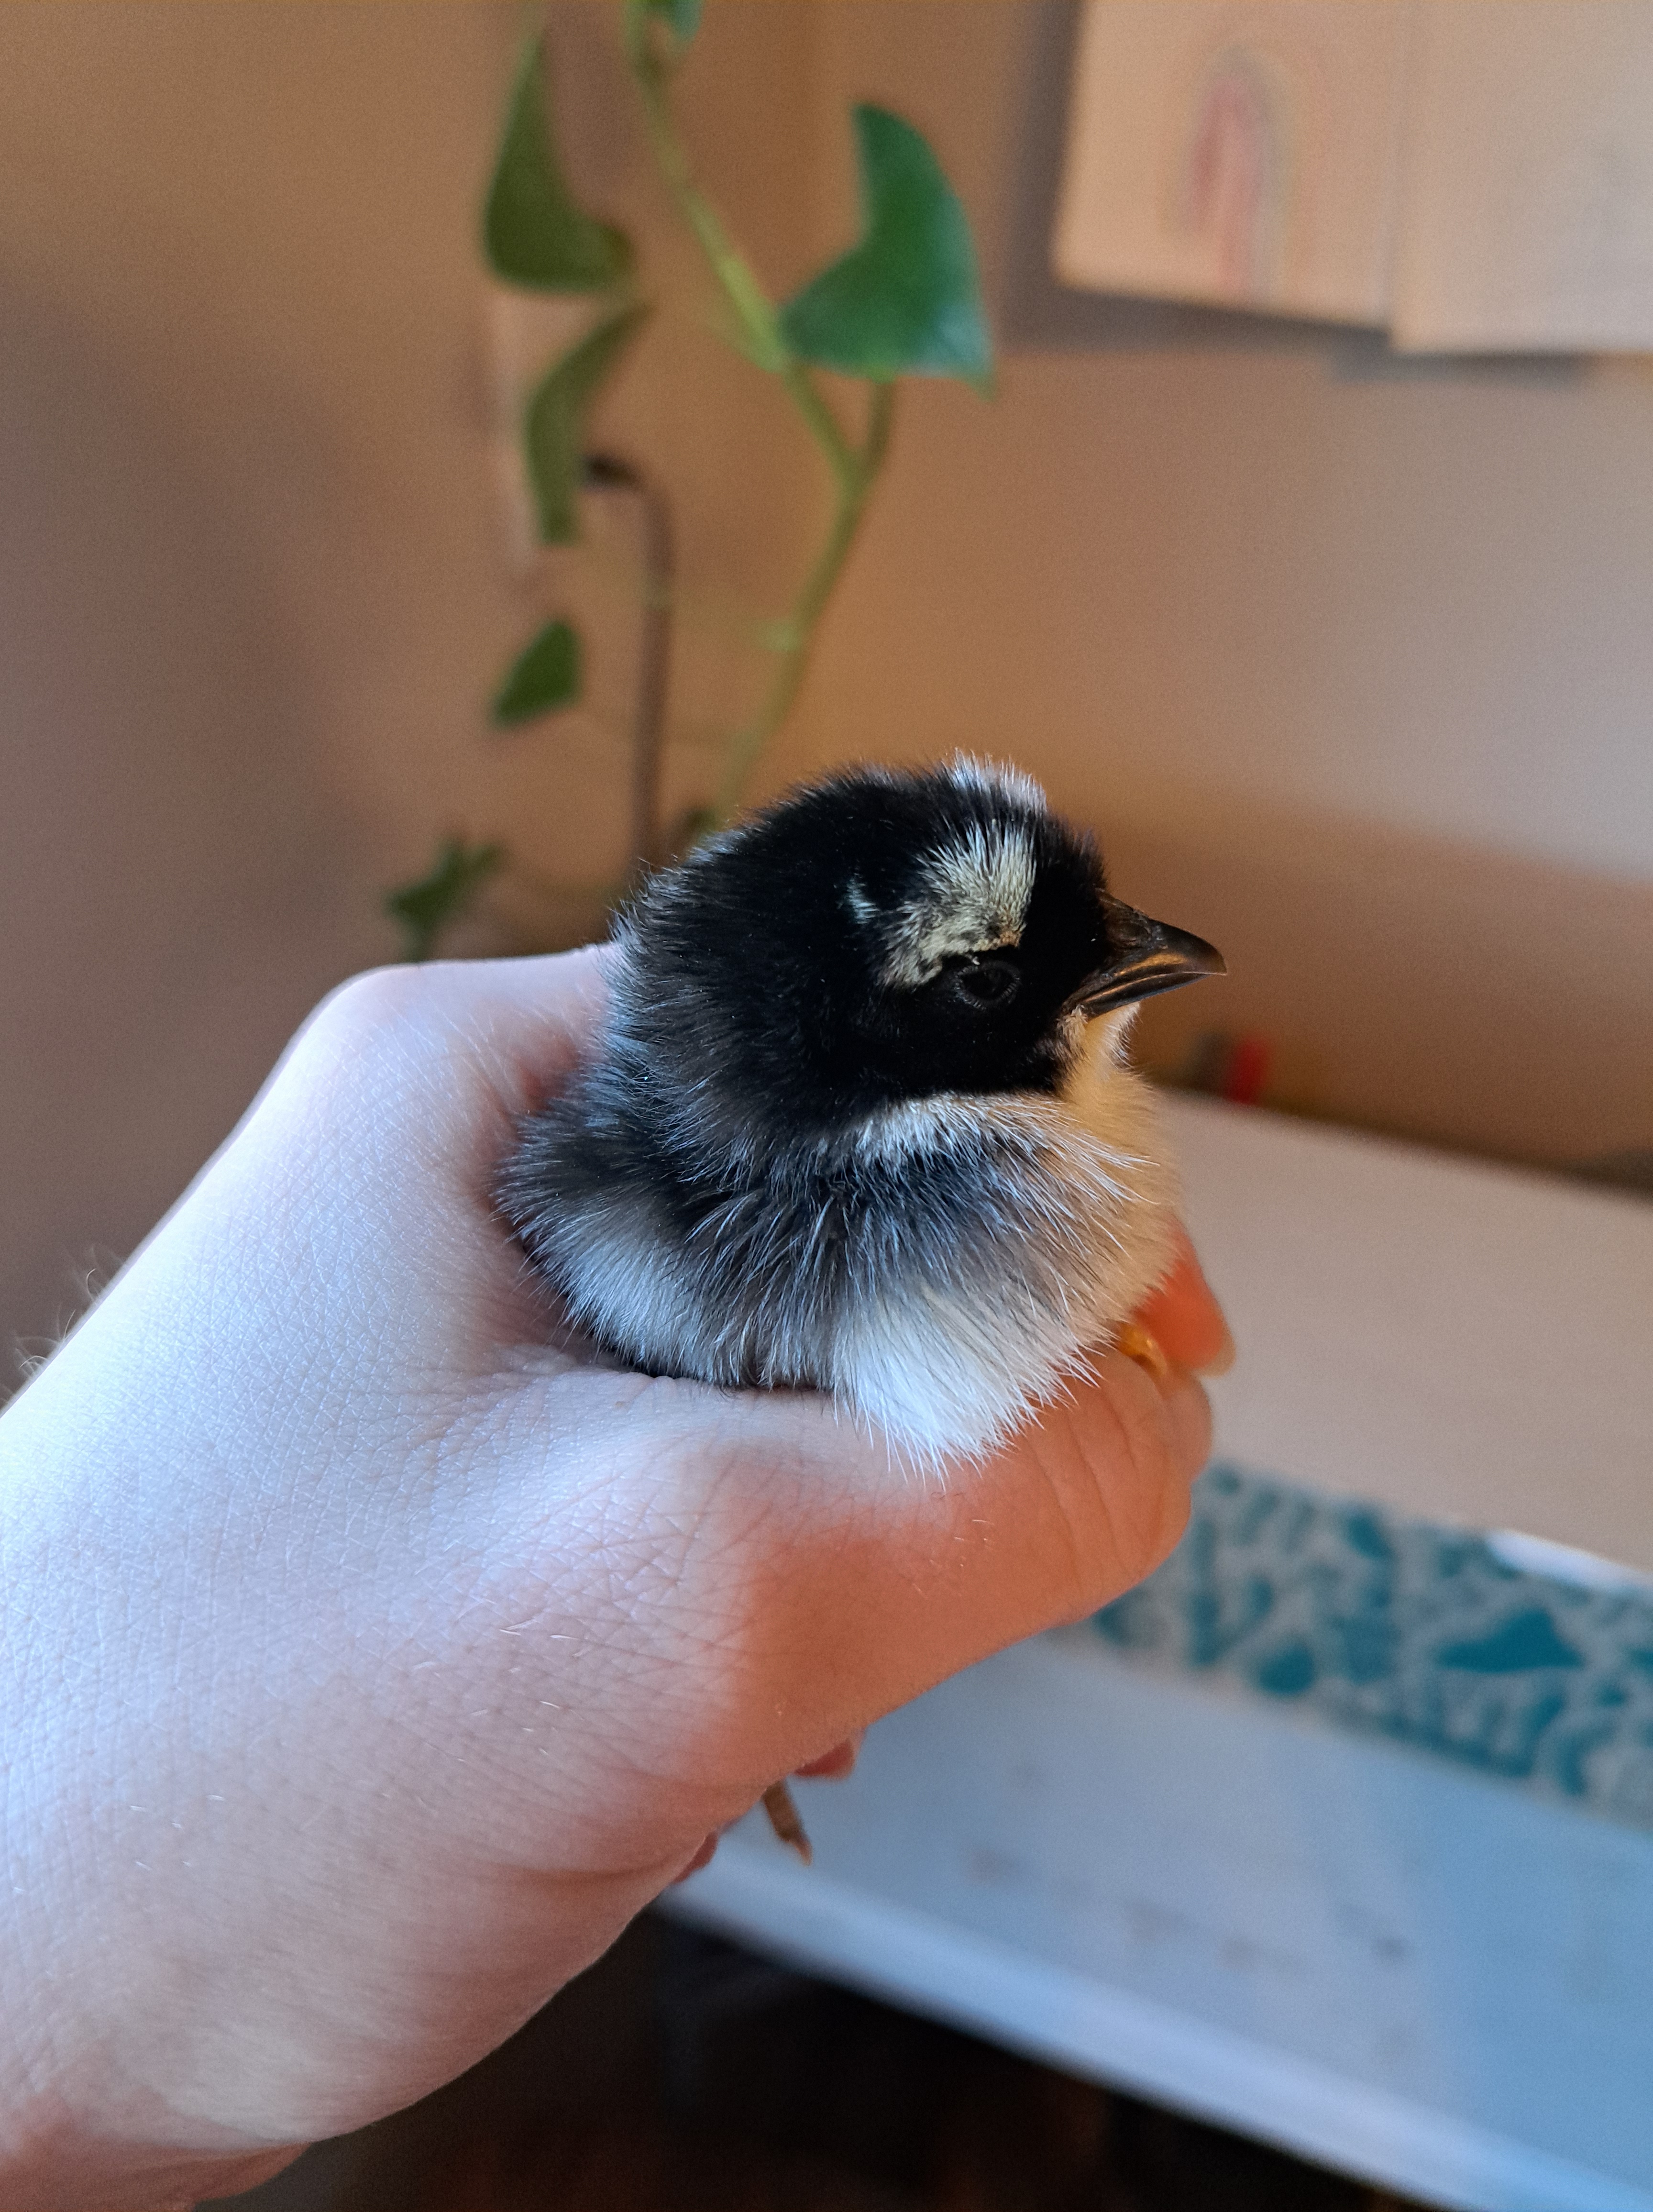
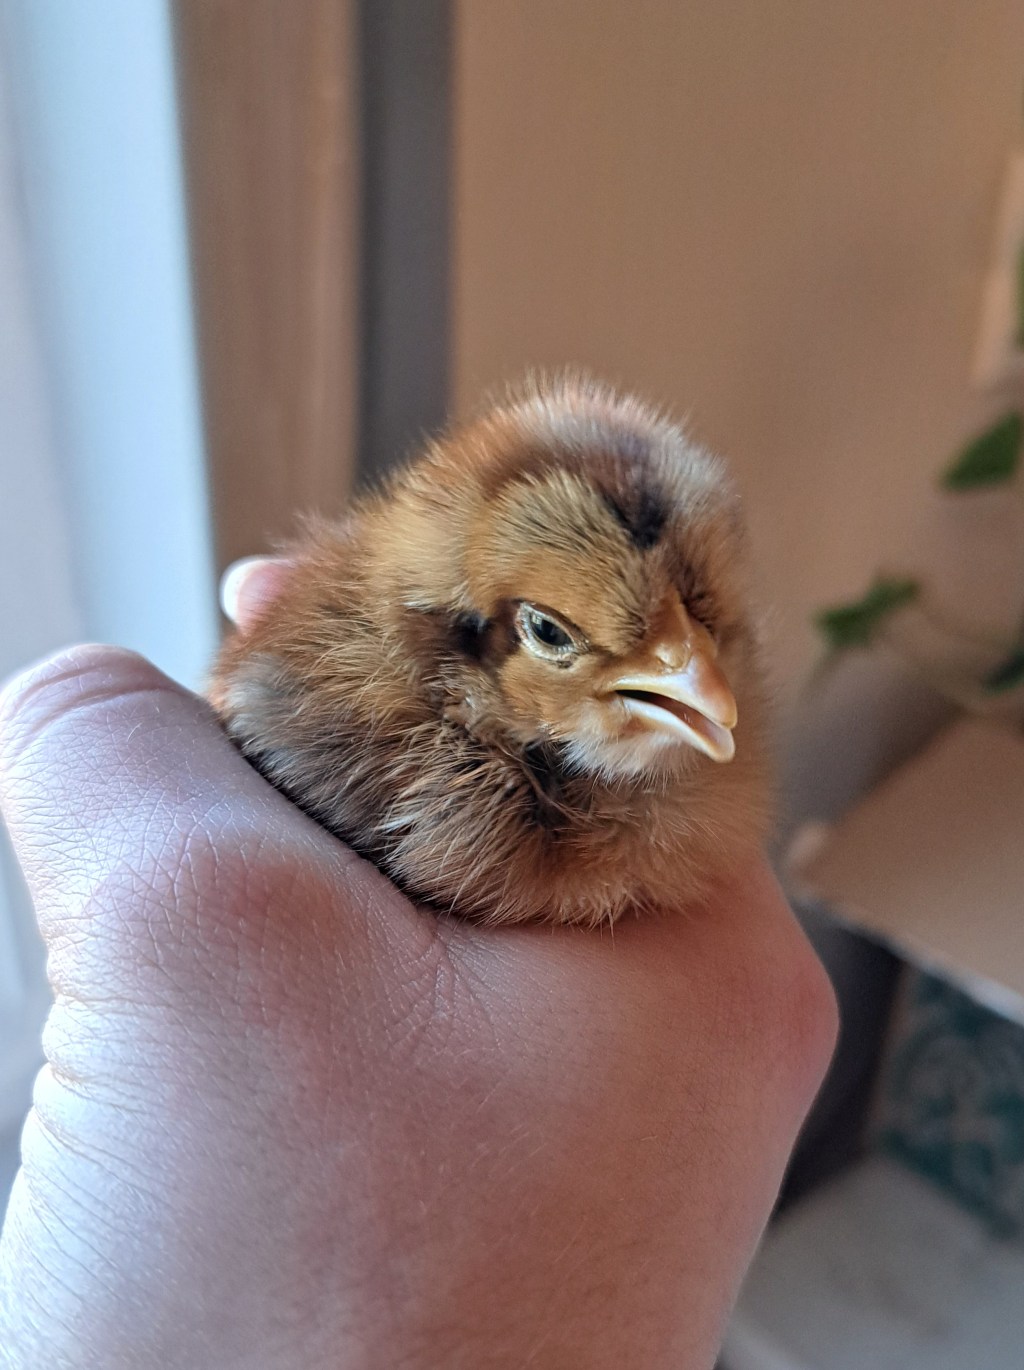
Winter is my favorite time to start planning projects for the upcoming spring around the farm. Adding another batch of chicks to the farm in the spring is an exciting addition. At our house, we love holding the baby chicks and watching them grow.
There are several questions to answer before you get your chicks. How many chicks? What breed of chicks (do you want meat birds or egg layers)? Where will you get them from? Where will you put the chicks once you have them? Do you have the proper supplies? Do you have the time to care for the chicks once you get them? What’s your plan once they are grown? I will be sharing some direct links if you are interested in the products we use for our chicks. As an Amazon Associate I earn from qualifying purchases.
If you have been researching what to do before you get chicks, you have probably heard of chicken math. It’s definitely real! On our farmstead, we’ve found that there have been times where it felt like we have chickens coming out of our ears. We started with 6 hens when we first got chickens, and we now have 8 chickens and 2 guinea fowl. This year we have had an unfortunate amount of loss with our chickens and guineas, so we will be getting a large number of chicks this spring.
How Many Chicks Should You Buy?
When it comes to calculating how many chicks to purchase or incubate, I suggest to go for a higher number of chicks than you hope to have for adult chickens. There is a lot to consider here. If half of your eggs hatch as roosters, what will you do with them? We choose to cull our roosters after we feel they are big enough. After 6 months is about the time we cull our roosters. Size of bird is more important to base culling on than trying to harvest directly at 6 months.
We have a goal flock size of about 20 chickens, so we are planning for 15 chicks this spring. We will be adding Buff Orpingtons with hopes one of the hens will become broody to hatch and raise her own chicks, and the roosters being a good “hybrid” egg-layer/meat bird. We are also adding 2 olive-eggers because who doesn’t love a pretty green egg other than Sam I Am? Lastly, we will be adding a few Jersey Giants. Again, these birds will be a good dual-purpose/hybrid bird for the flock. In addition, my husband is looking forward to some large roosters to protect our hens.
We plan for loss of a chick or two (hopeful of 0 of course), and we plan for loss of our grown chickens in regards to the roosters we will cull and the occasional predator loss.

Preparing For Chicks – Set Up
Chicks need warmth, food, water, to be contained, and that’s about it! We use a large clear tote to keep our chicks in the first week or so. Our heat source choice is a brooder plate. Many recommend and use a heat lamp, but we feel that a brooder plate is safer as we keep the chicks inside our home for 2 weeks then move into our garage.We have used this brooder plate for two batches of chicks now. I love that it is adjustable as the chicks grow. We set ours to be at a slant, so the chicks can stand under it at their desired temperature. For the first 2-3 weeks, we use paper towels as “bedding” for the chicks while they are learning what their food is and where to find it. Our feed and water containers screw onto quart Mason Jars. We use this plastic screw on for chick feed, and here is the waterer base. This is the chick feed we use.
Chick Care
The biggest issue we’ve encountered with our chicks is pasty butt. Chickens have 1 single exit hole: their vent. This is for both laying eggs and waste. Occasionally, chicks’ poo will get clumped up and potentially clog their vent. Check on your chicks daily. If you see it, no need to fret. It’s very easy to clean up! Take your chick to a sink and run lukewarm water – slightly warmer than room temperature. Run their bottom under water and gently help wash away the clumped up poo. Their belly button is below their vent, so if you need to clean up your chick’s bum ensure you are not tugging and picking at everything on their bottom. After their bath, we dry them off and put them under the brooder plate.
We put rocks in the bottom of our waterer base until the chicks are about 1-2 weeks old. We’ve never had a chick drown, but we know it’s a possibility. It’s a very easy precaution to take. We just collect rocks from our backyard and rinse them off before putting them in the dish.
Things To Add With Age
Once the chicks are over a week old, we add electrolyte as an option to drink for the chicks. It is important to offer plain water with the electrolyte as well.
After three weeks of age, the chicks need to be introduced to grit. We take this grit and sprinkle it on top of the chick feed.
Around two to three weeks is also when we change from paper towels to pine shavings bedding.
Sunlight and the outdoors when you can. I prefer for the day to be a minimum of 70 degrees F. Ensure the chicks will be in direct sunlight, have water to drink, they will be contained, AND stay around them to ensure there is no chance of a predator getting one of your chicks.
Daily To-Dos With Chicks
Refresh water (at least once each day); change bedding/clean tote, fill food, check for pasty butt, watch chicks for any irregular behavior. There isn’t much to it! You only need about 10 minutes per day.
Whether this is your first time raising chicks or you’ve done it before I wish you nothing but the best of luck with your chicks! If there is anything you do differently, please let me know in the comments below!! To get the latest updates from the Family Table Farmstead, enter your email below, thanks!
Family Table Farmstead 🖤


Leave a comment